Integration with Microsoft Azure
Termius for Windows, macOS, and Linux allows you to integrate your Microsoft Azure cloud with Termius.
This integration involves the secure import of Virtual Machines to a group in Termius which automatically updates to reflect the changes in your Azure subscription. Once you add or remove a server at Azure or change a VM's details, a host entry will appear, disappear, or be updated in Termius.
For each Virtual Machine at Azure, Termius imports the Name and Public IP address.
To connect Termius to your Azure cloud, you need to:
Createan Azure AD application and service principal that can access information about Virtual Machines. Such a service principal can be created with the Azure portal, CLI or PowerShell. The Directory (tenant) ID, Application (client) ID and Secret Value you'll receive will be used by Termius to interact with Azure.Enableimporting of your Virtual Machines at Azure to a group.
Note: Azure integration is unavailable in the Starter (free) plan.
Create an Azure service principal
The following instruction describes how to create a service principal with the Azure portal:
Navigateto the Azure portal.Select
Azure Active Directoryfrom the left-hand side menu.
Select
App registrationsand +New registration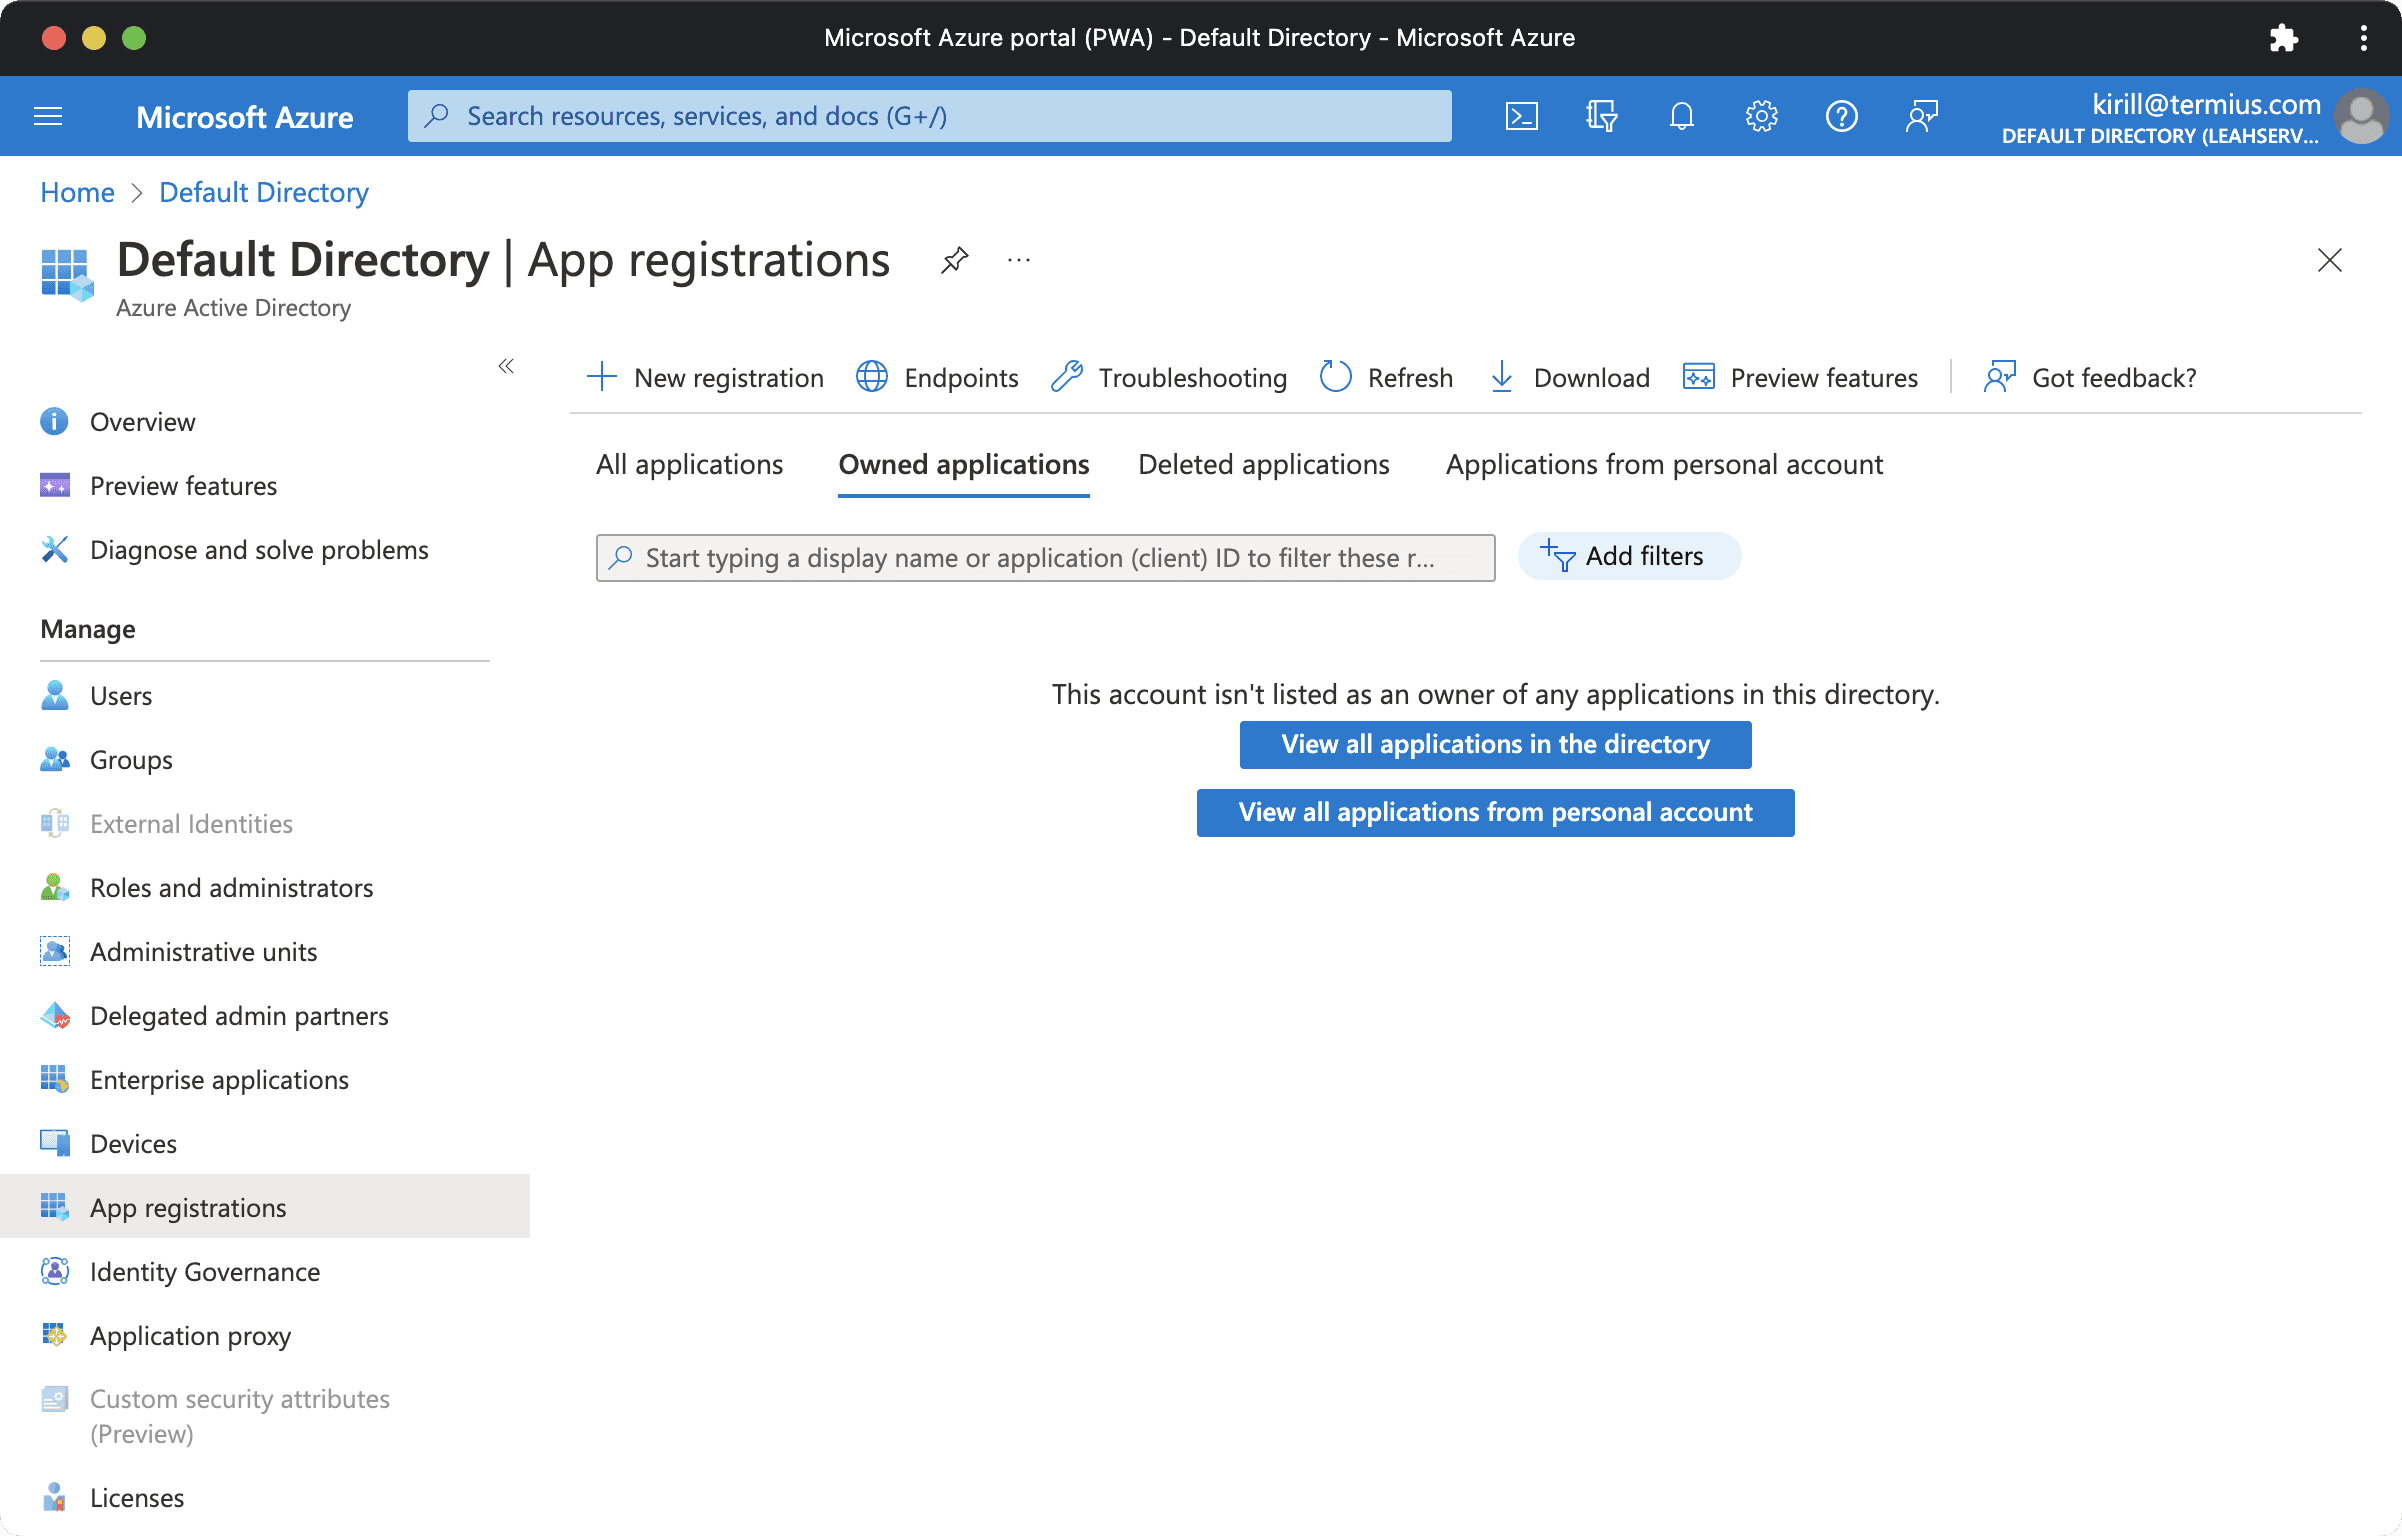
Enter a name for the
application(the service principal name).Select
Accounts in this organizational directory only.Then select
Register.Copy the
Directory (tenant) IDandApplication (client) IDto the Tenant ID and Client ID fields in Termius.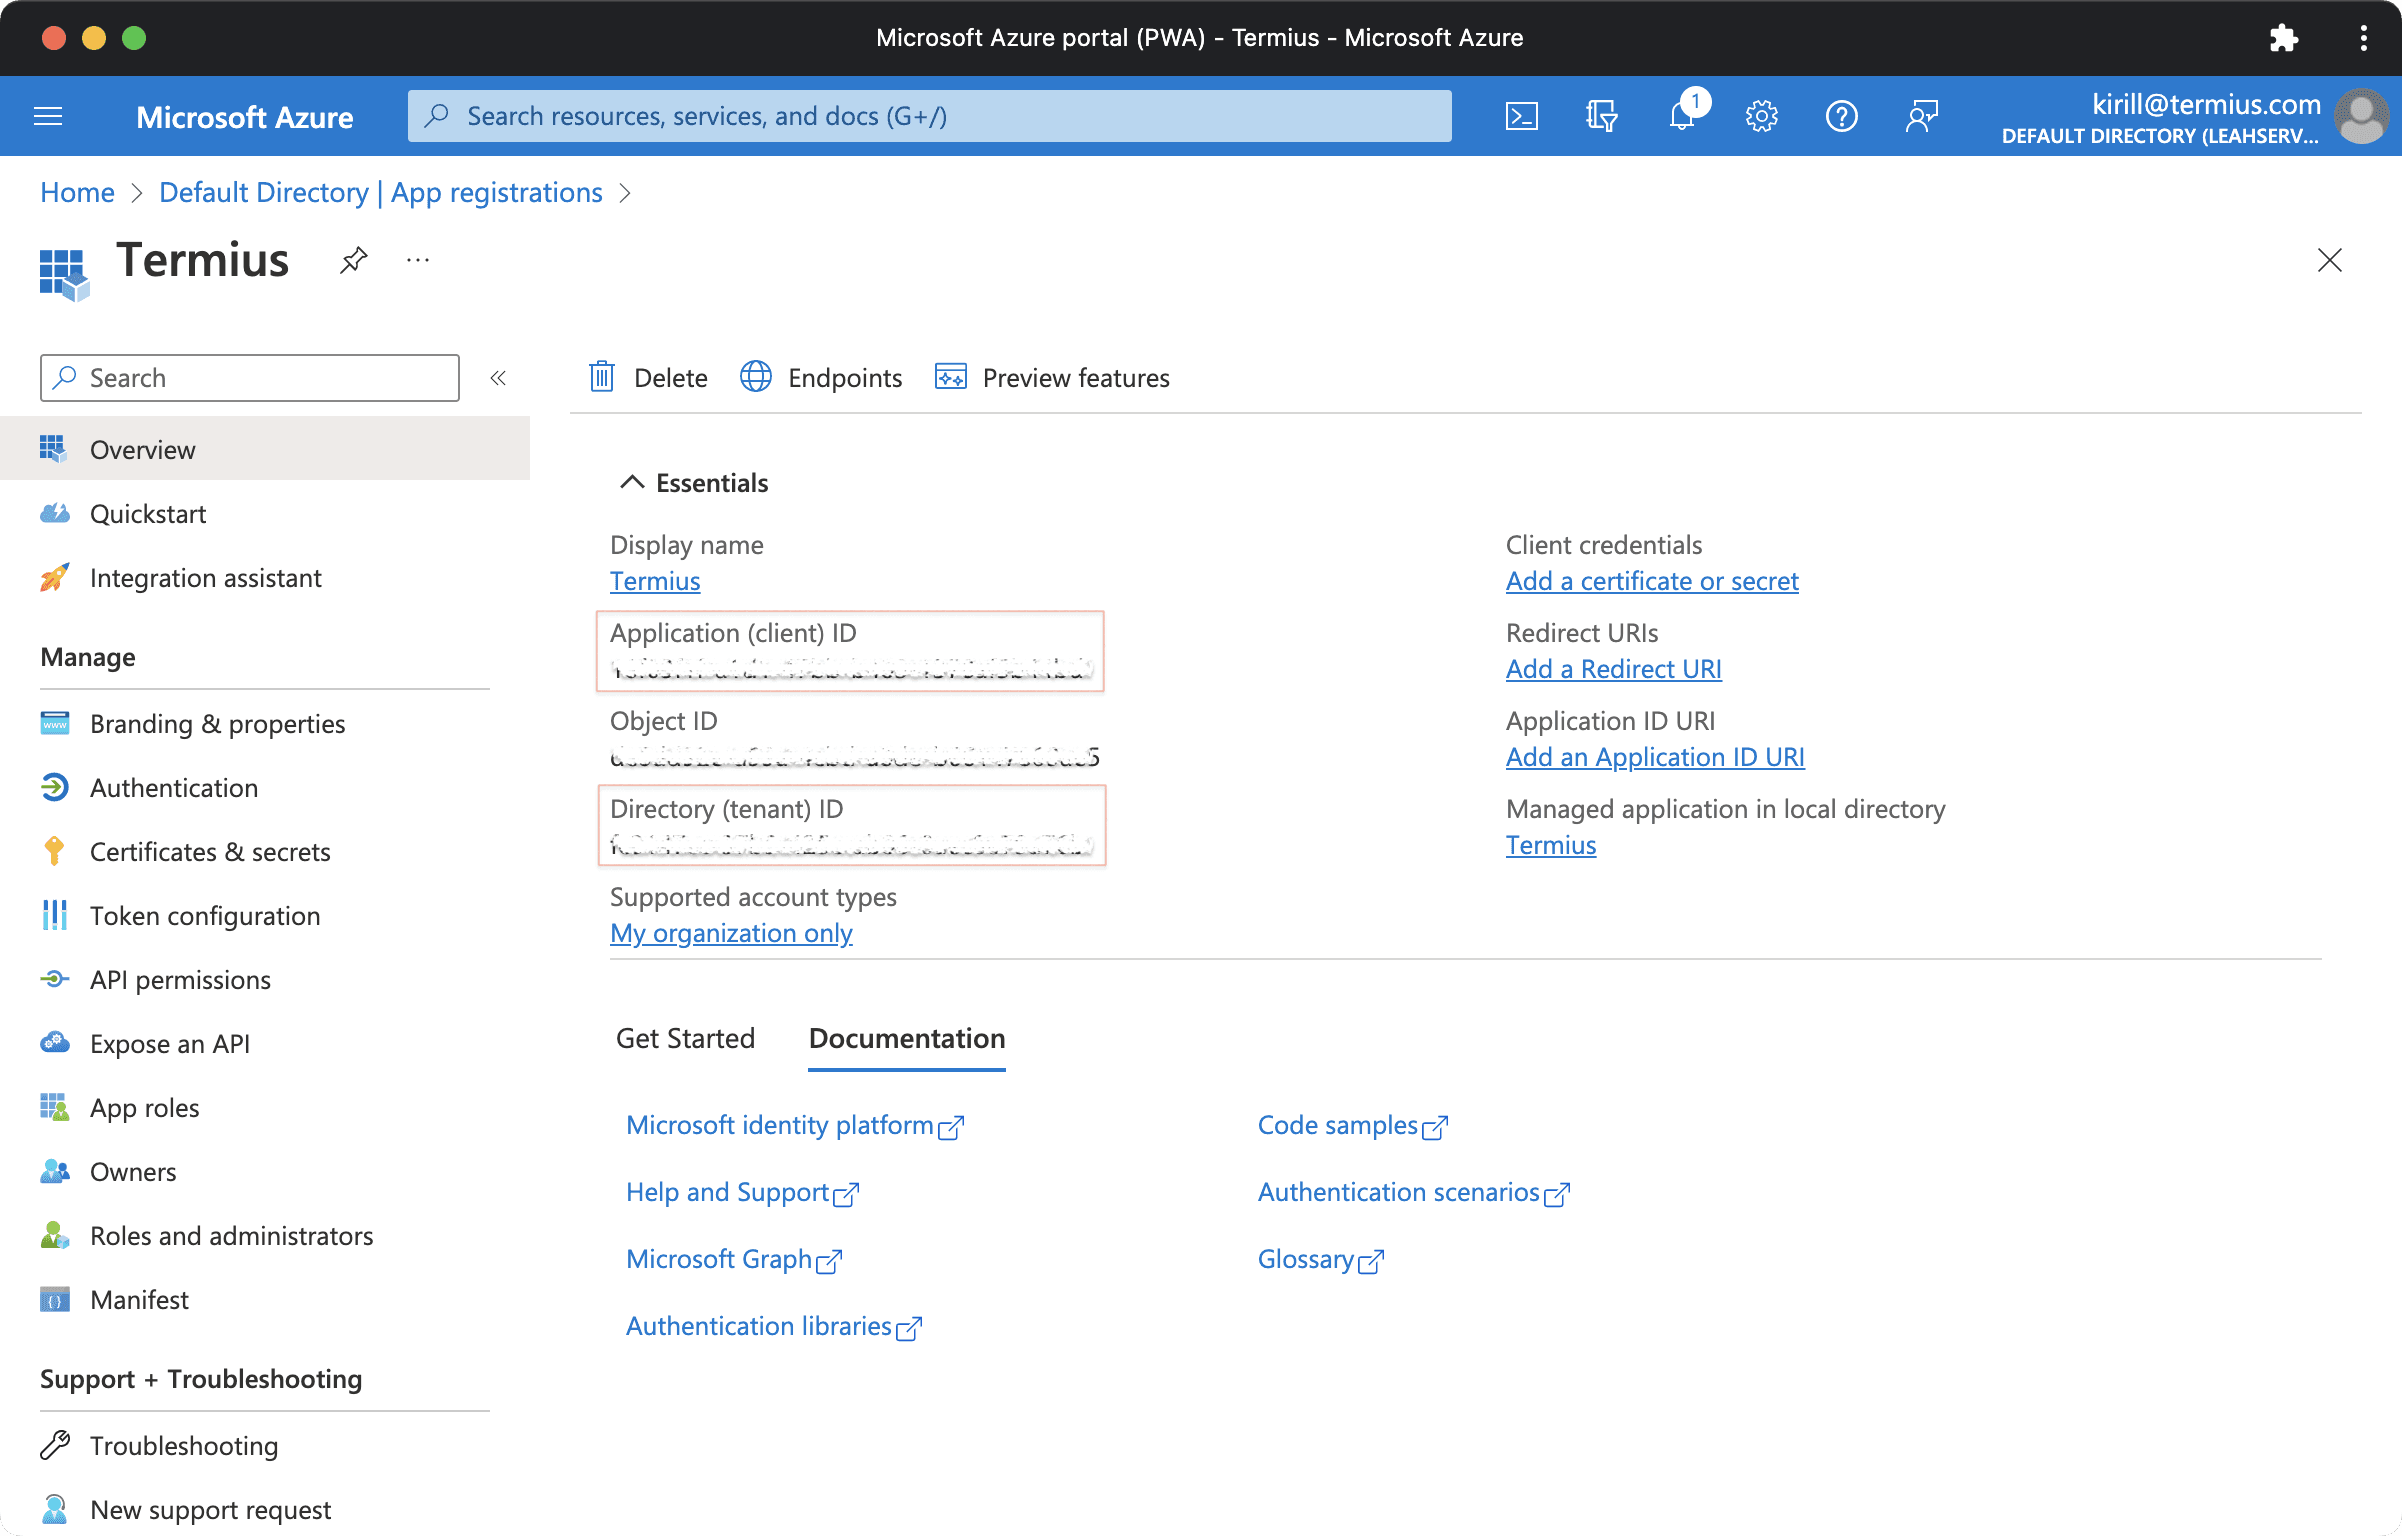
Select
Certificates & secretsand+ New client secretunderClient secrets
Provide a
Descriptionand set theExpiresfor the secretCopy the
Secret Valueto theClient Secretfield in Termius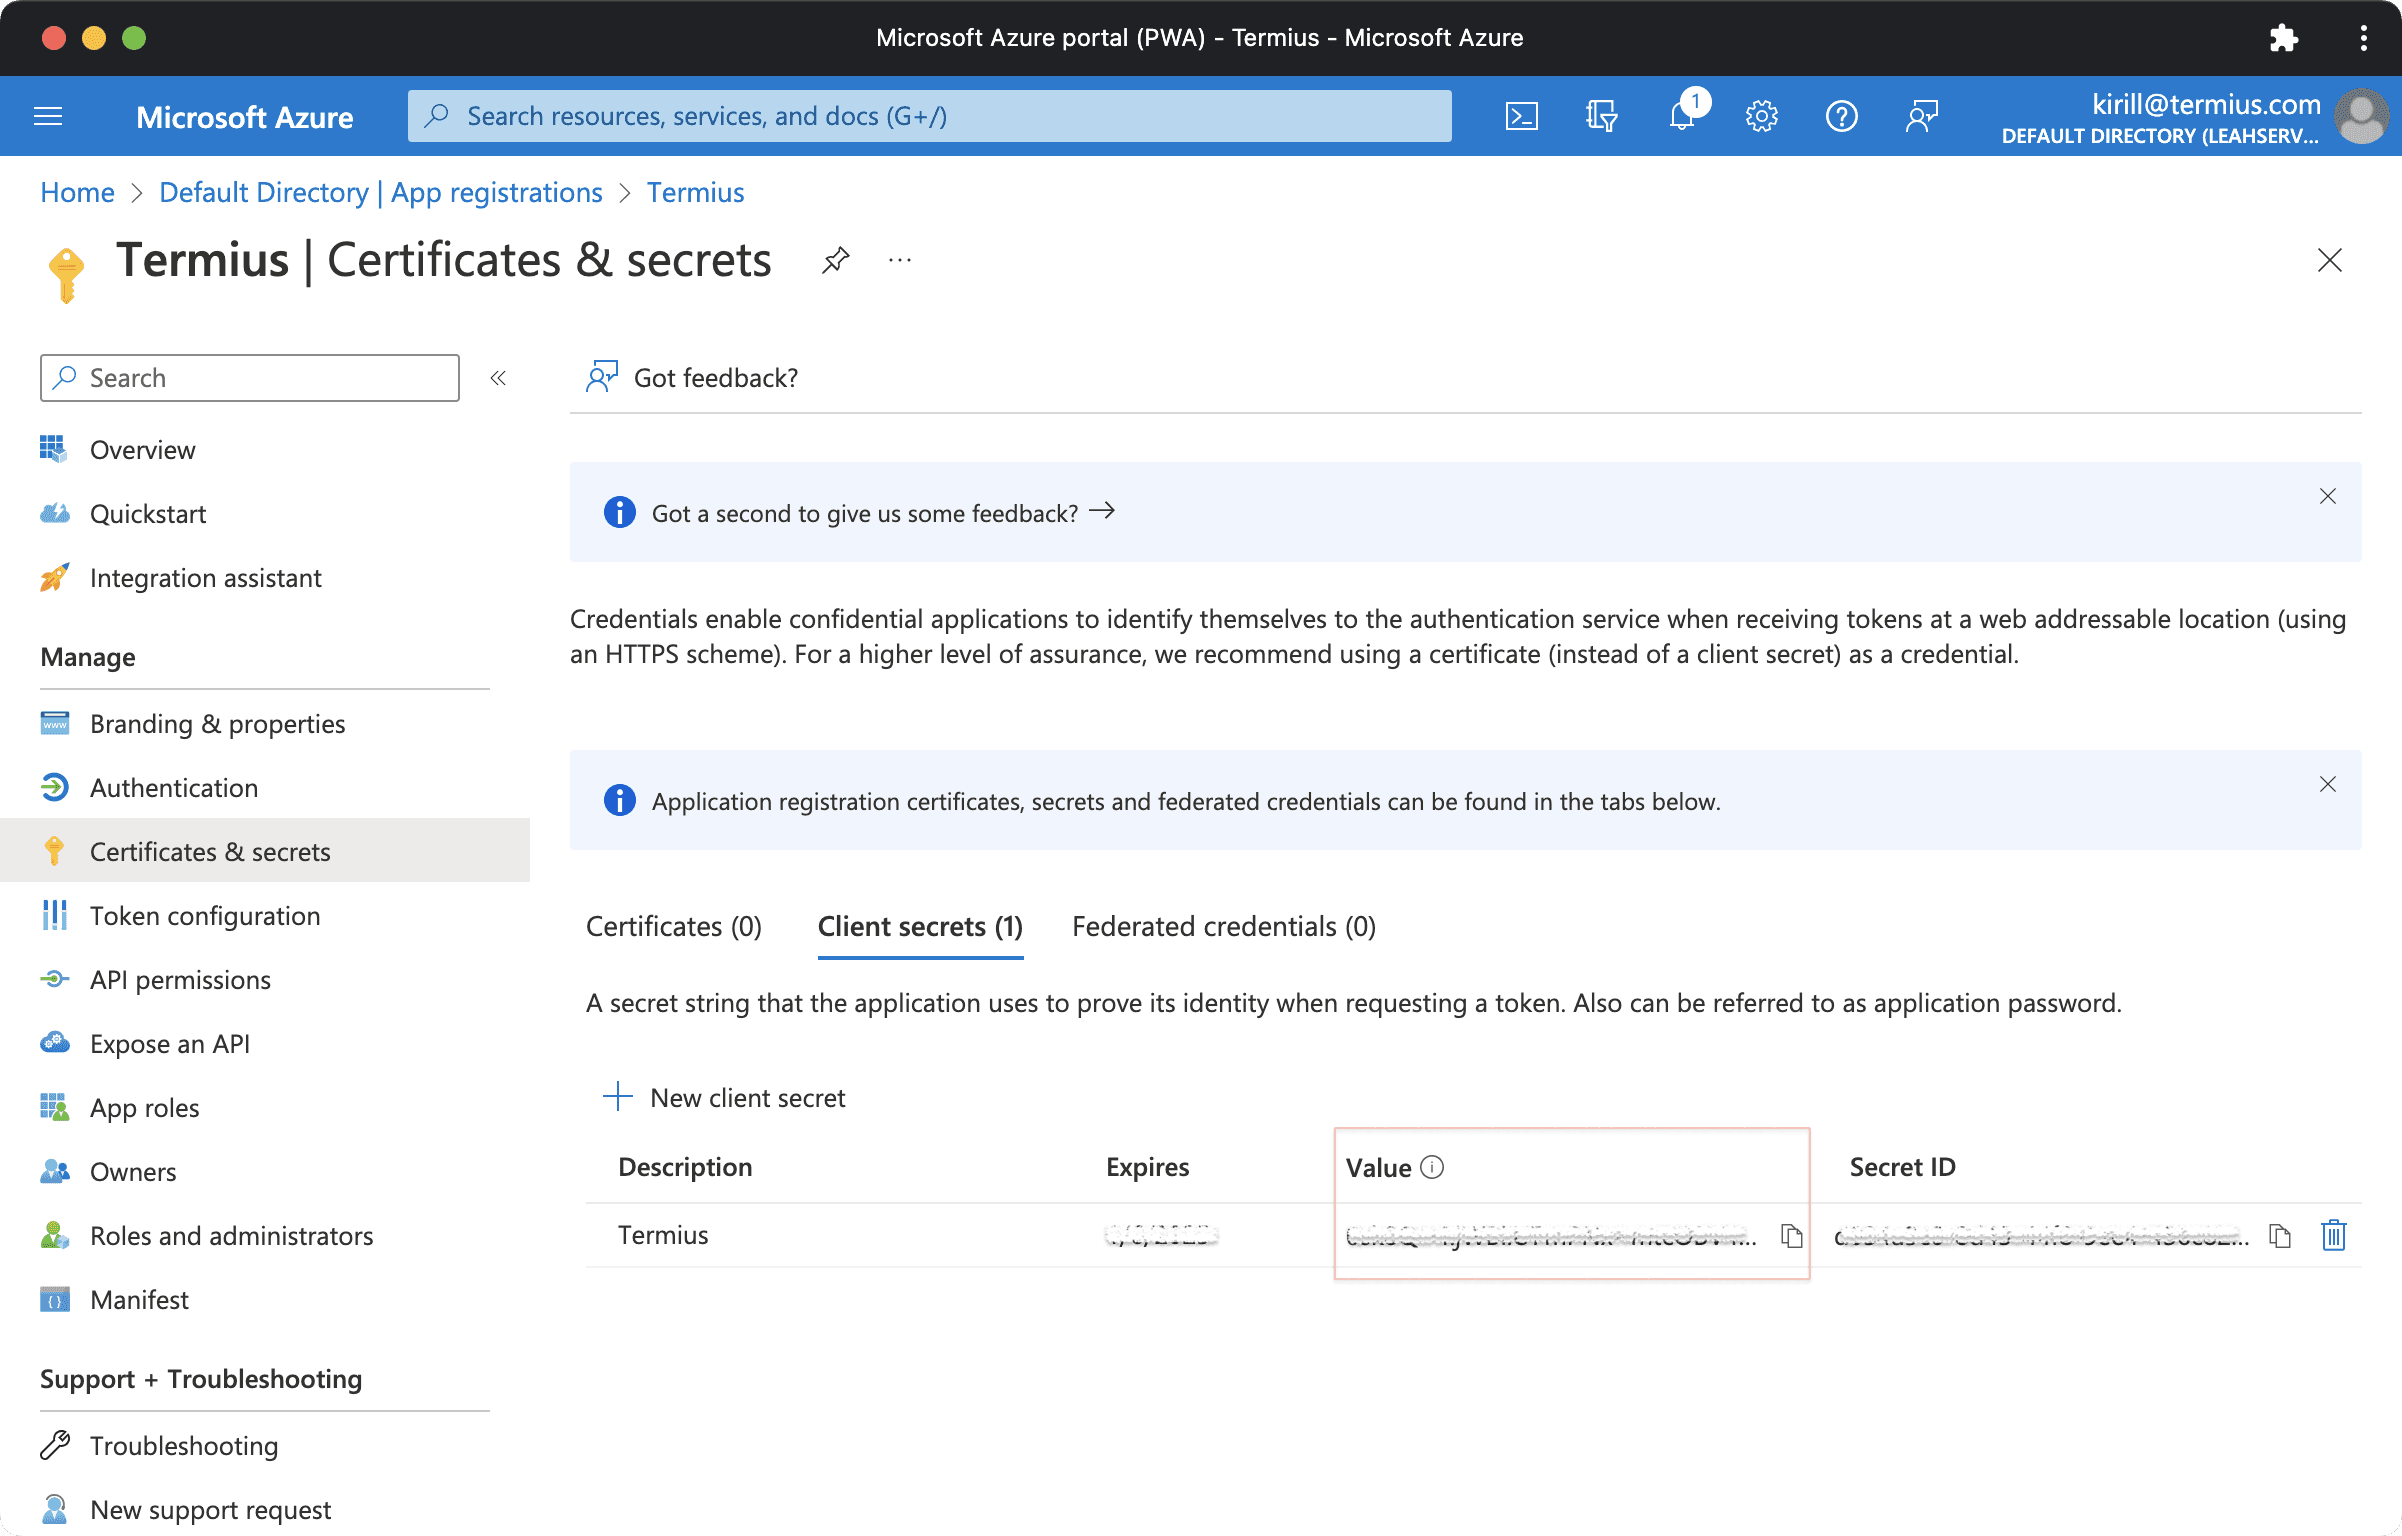
Assign a role to the Azure application
To access information about virtual machines in your subscription, you must assign an appropriate role to the created application. We recommend using a role with minimum required permissions. Termius needs only permission to read information about virtual machines and networks. If you don't want to create a custom role for Termius, you can use the Virtual Machine Administrator Login built-in role.
You can set the scope at the level of the subscription, resource group, or resource. The following instruction describes how to assign a role at the subscription scope:
Search for and select
Subscriptions, or selectSubscriptionson the Home page.Select the particular subscription to assign the application to.
Select
Access control (IAM).Select
Add>Add role assignmentto open theAdd role assignmentpage.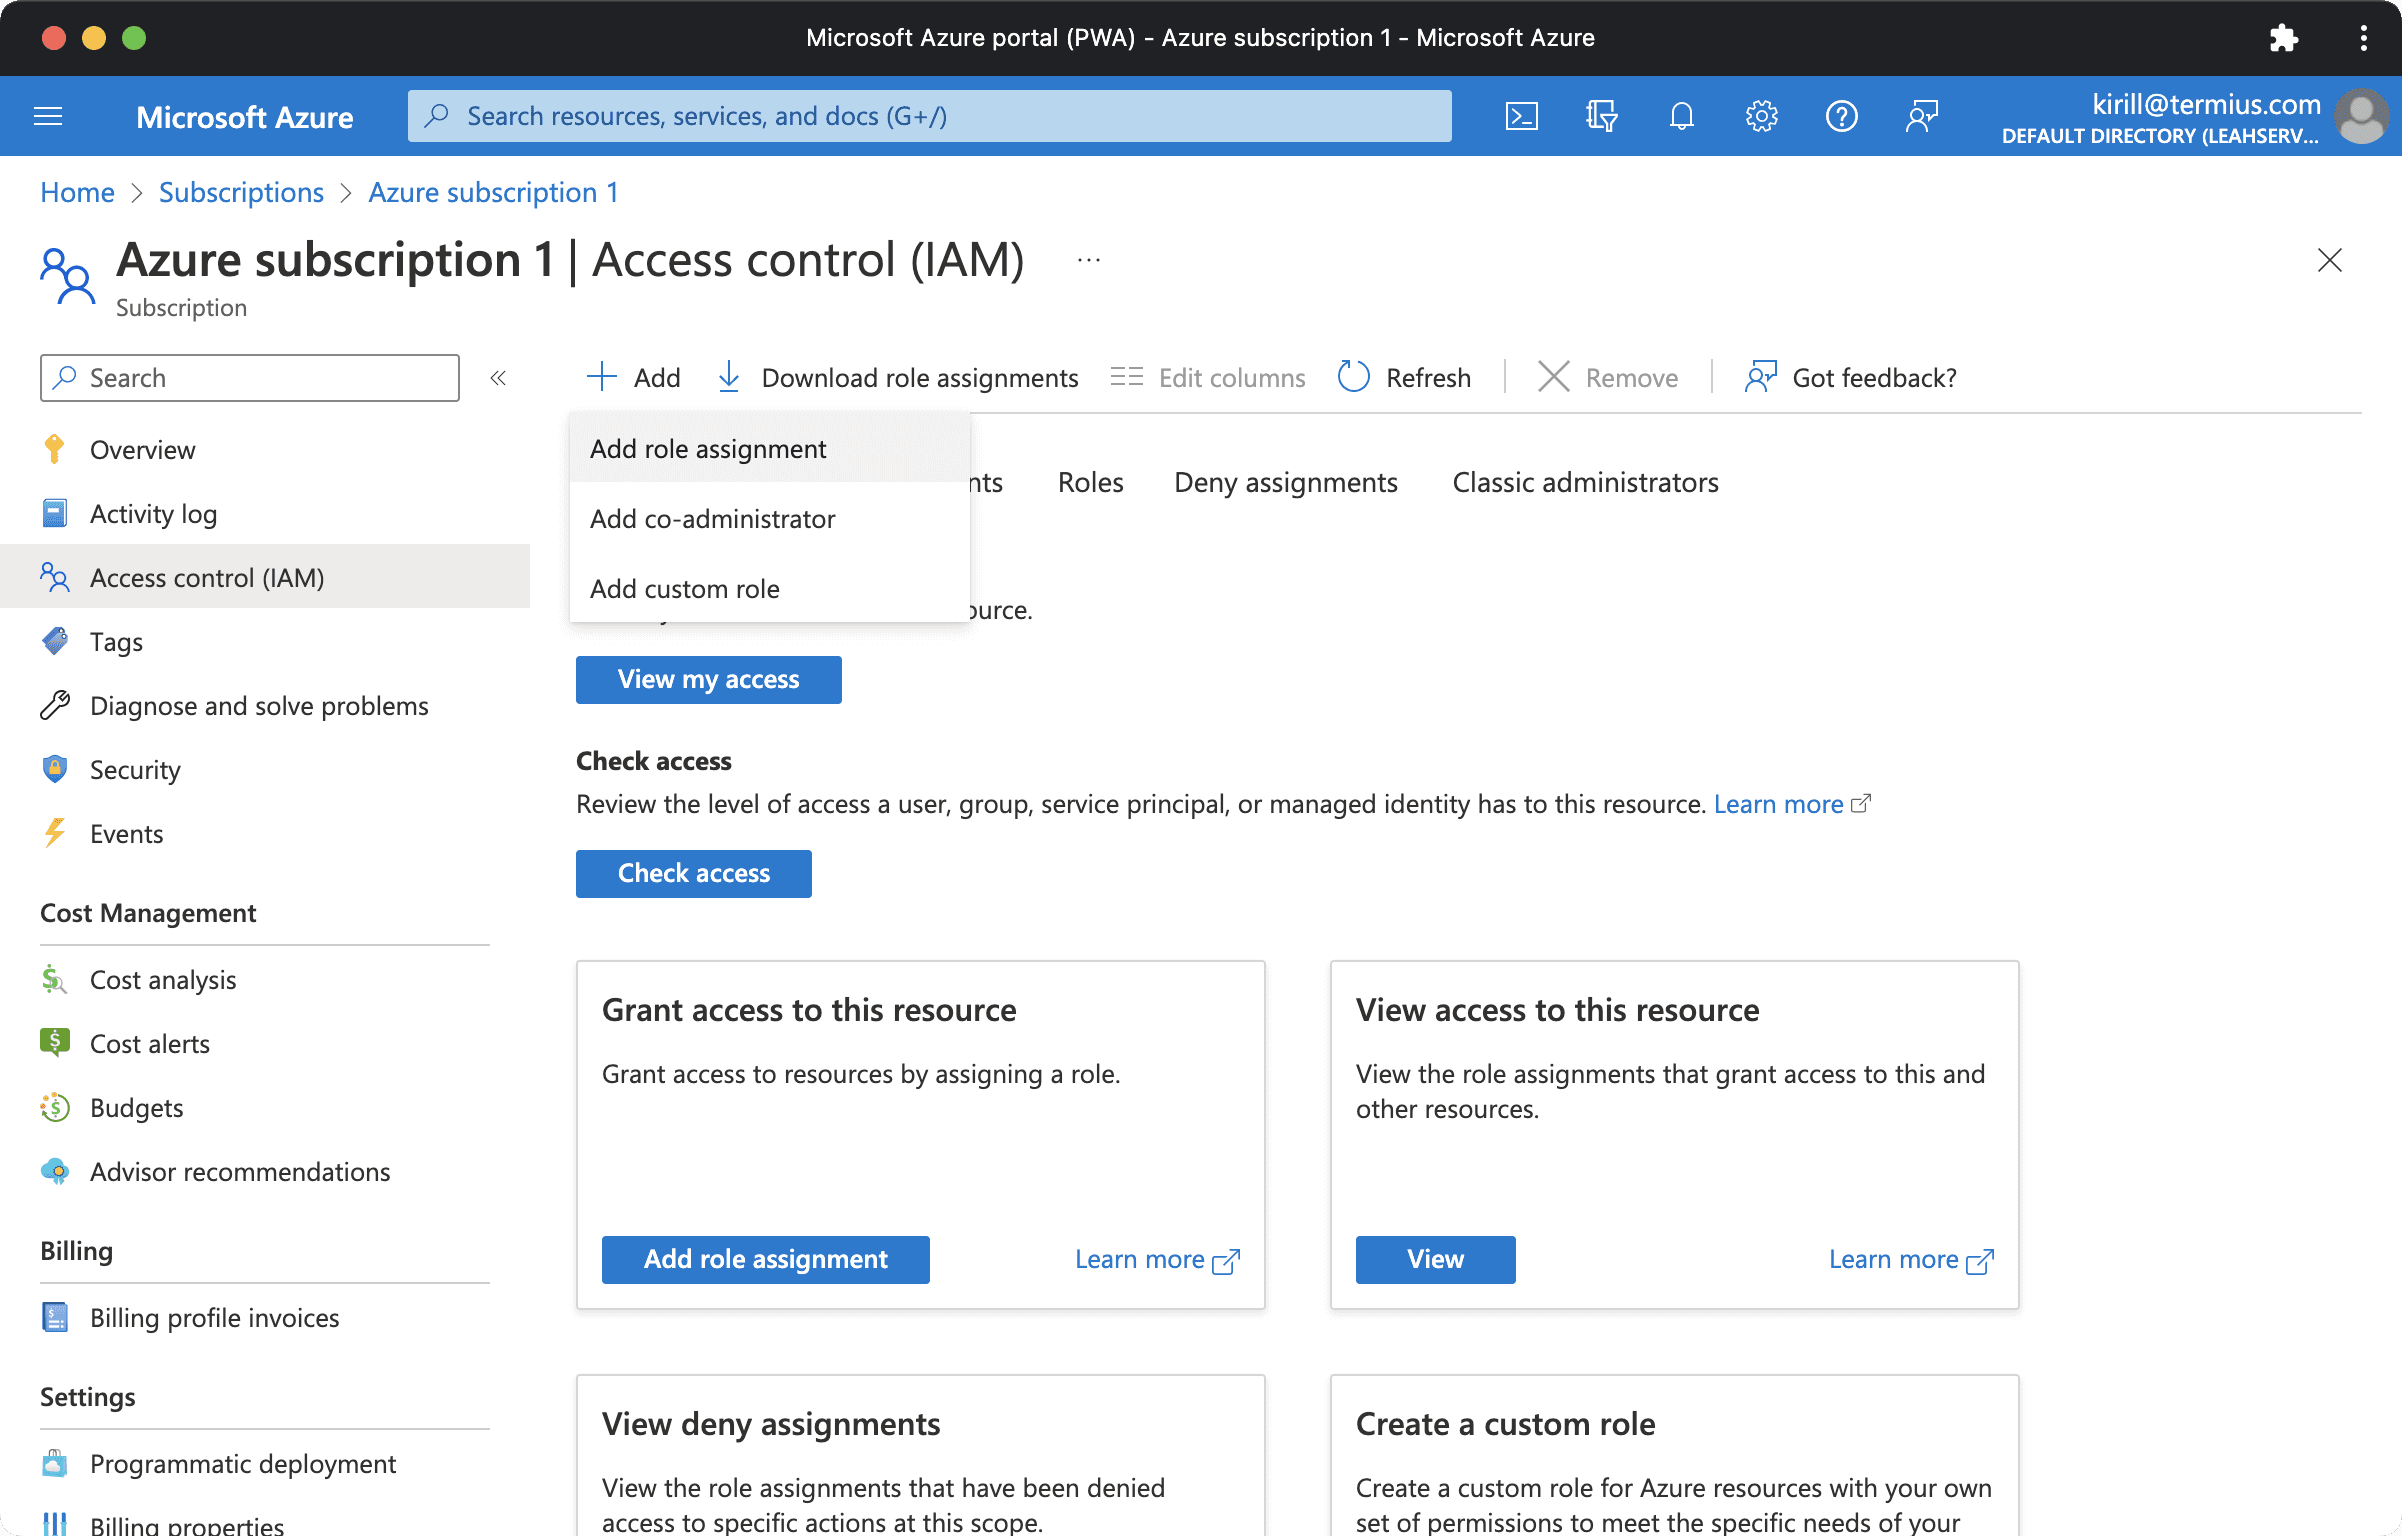
In the
Roletab, select theVirtual Machine Administrator Loginrole or the role you wish to assign to the application and select the Next button.In the
Memberstab, selectAssign access to->User, group, or service principal, then selectSelect membersand find your application.
Click the
Review+ assignbutton.
When your service principal is set up, Termius can load information about virtual machines.
Enable Azure integration in Termius
Create an
Azure integrationin Termius.Copy
Directory (tenant) IDof your Azure application to theTenant IDfield.Copy
Application (client) IDof your Azure application to theClient IDfield.Copy
Valueof aClient Secretof your Azure application to theClient Secretfield.Click
➔at the top right.